Quick Start: How to Use Default Templates in StreamSpace Studio
StreamSpace Studio comes with a set of ready-made workflow templates so you don't have to build a workflow from scratch. This guide walks you through selecting a template, customizing it, testing it, and publishing it — step by step.
Overview
Login → Templates → Select Template → Try It → Enter Workflow Name → Save → Customize → Configure Credentials → Test → Review → Publish
Step 1: Log in to StreamSpace Studio
Open studio.streamspace.ai and log in with your credentials.
From the Studio Dashboard, click on Templates.
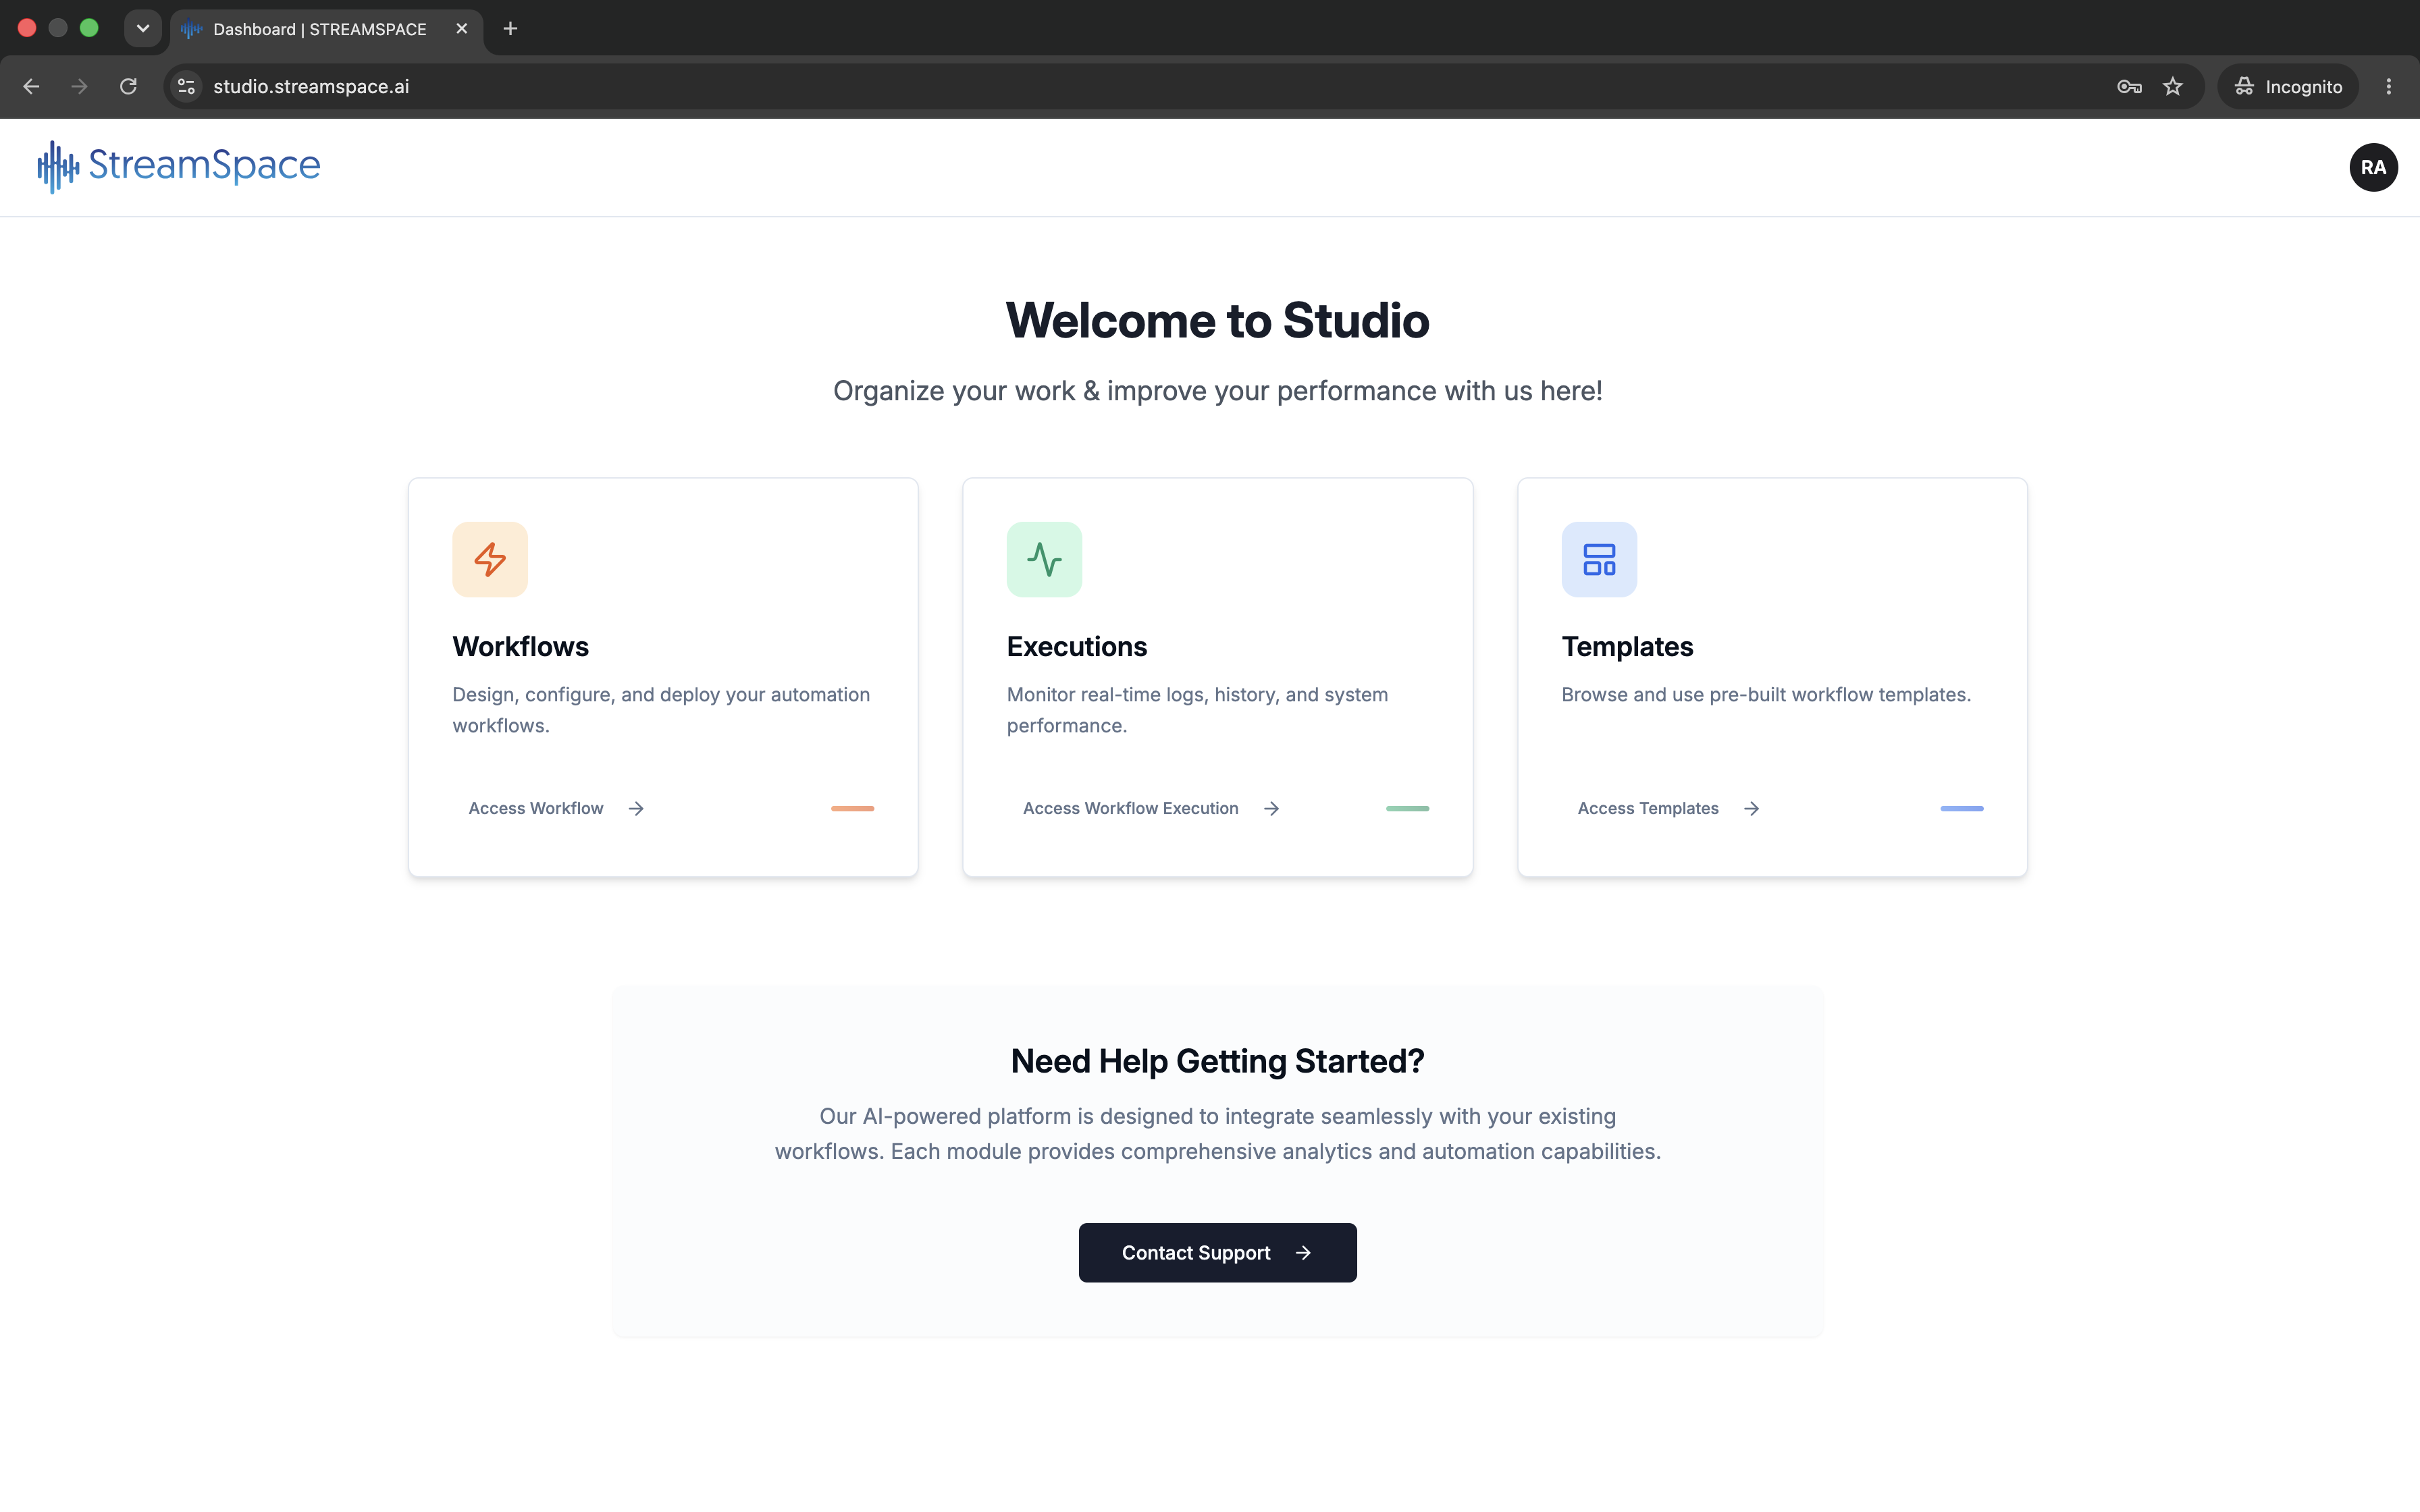
You can also go directly to the Workflow Templates page.
Step 2: Browse and Select a Template
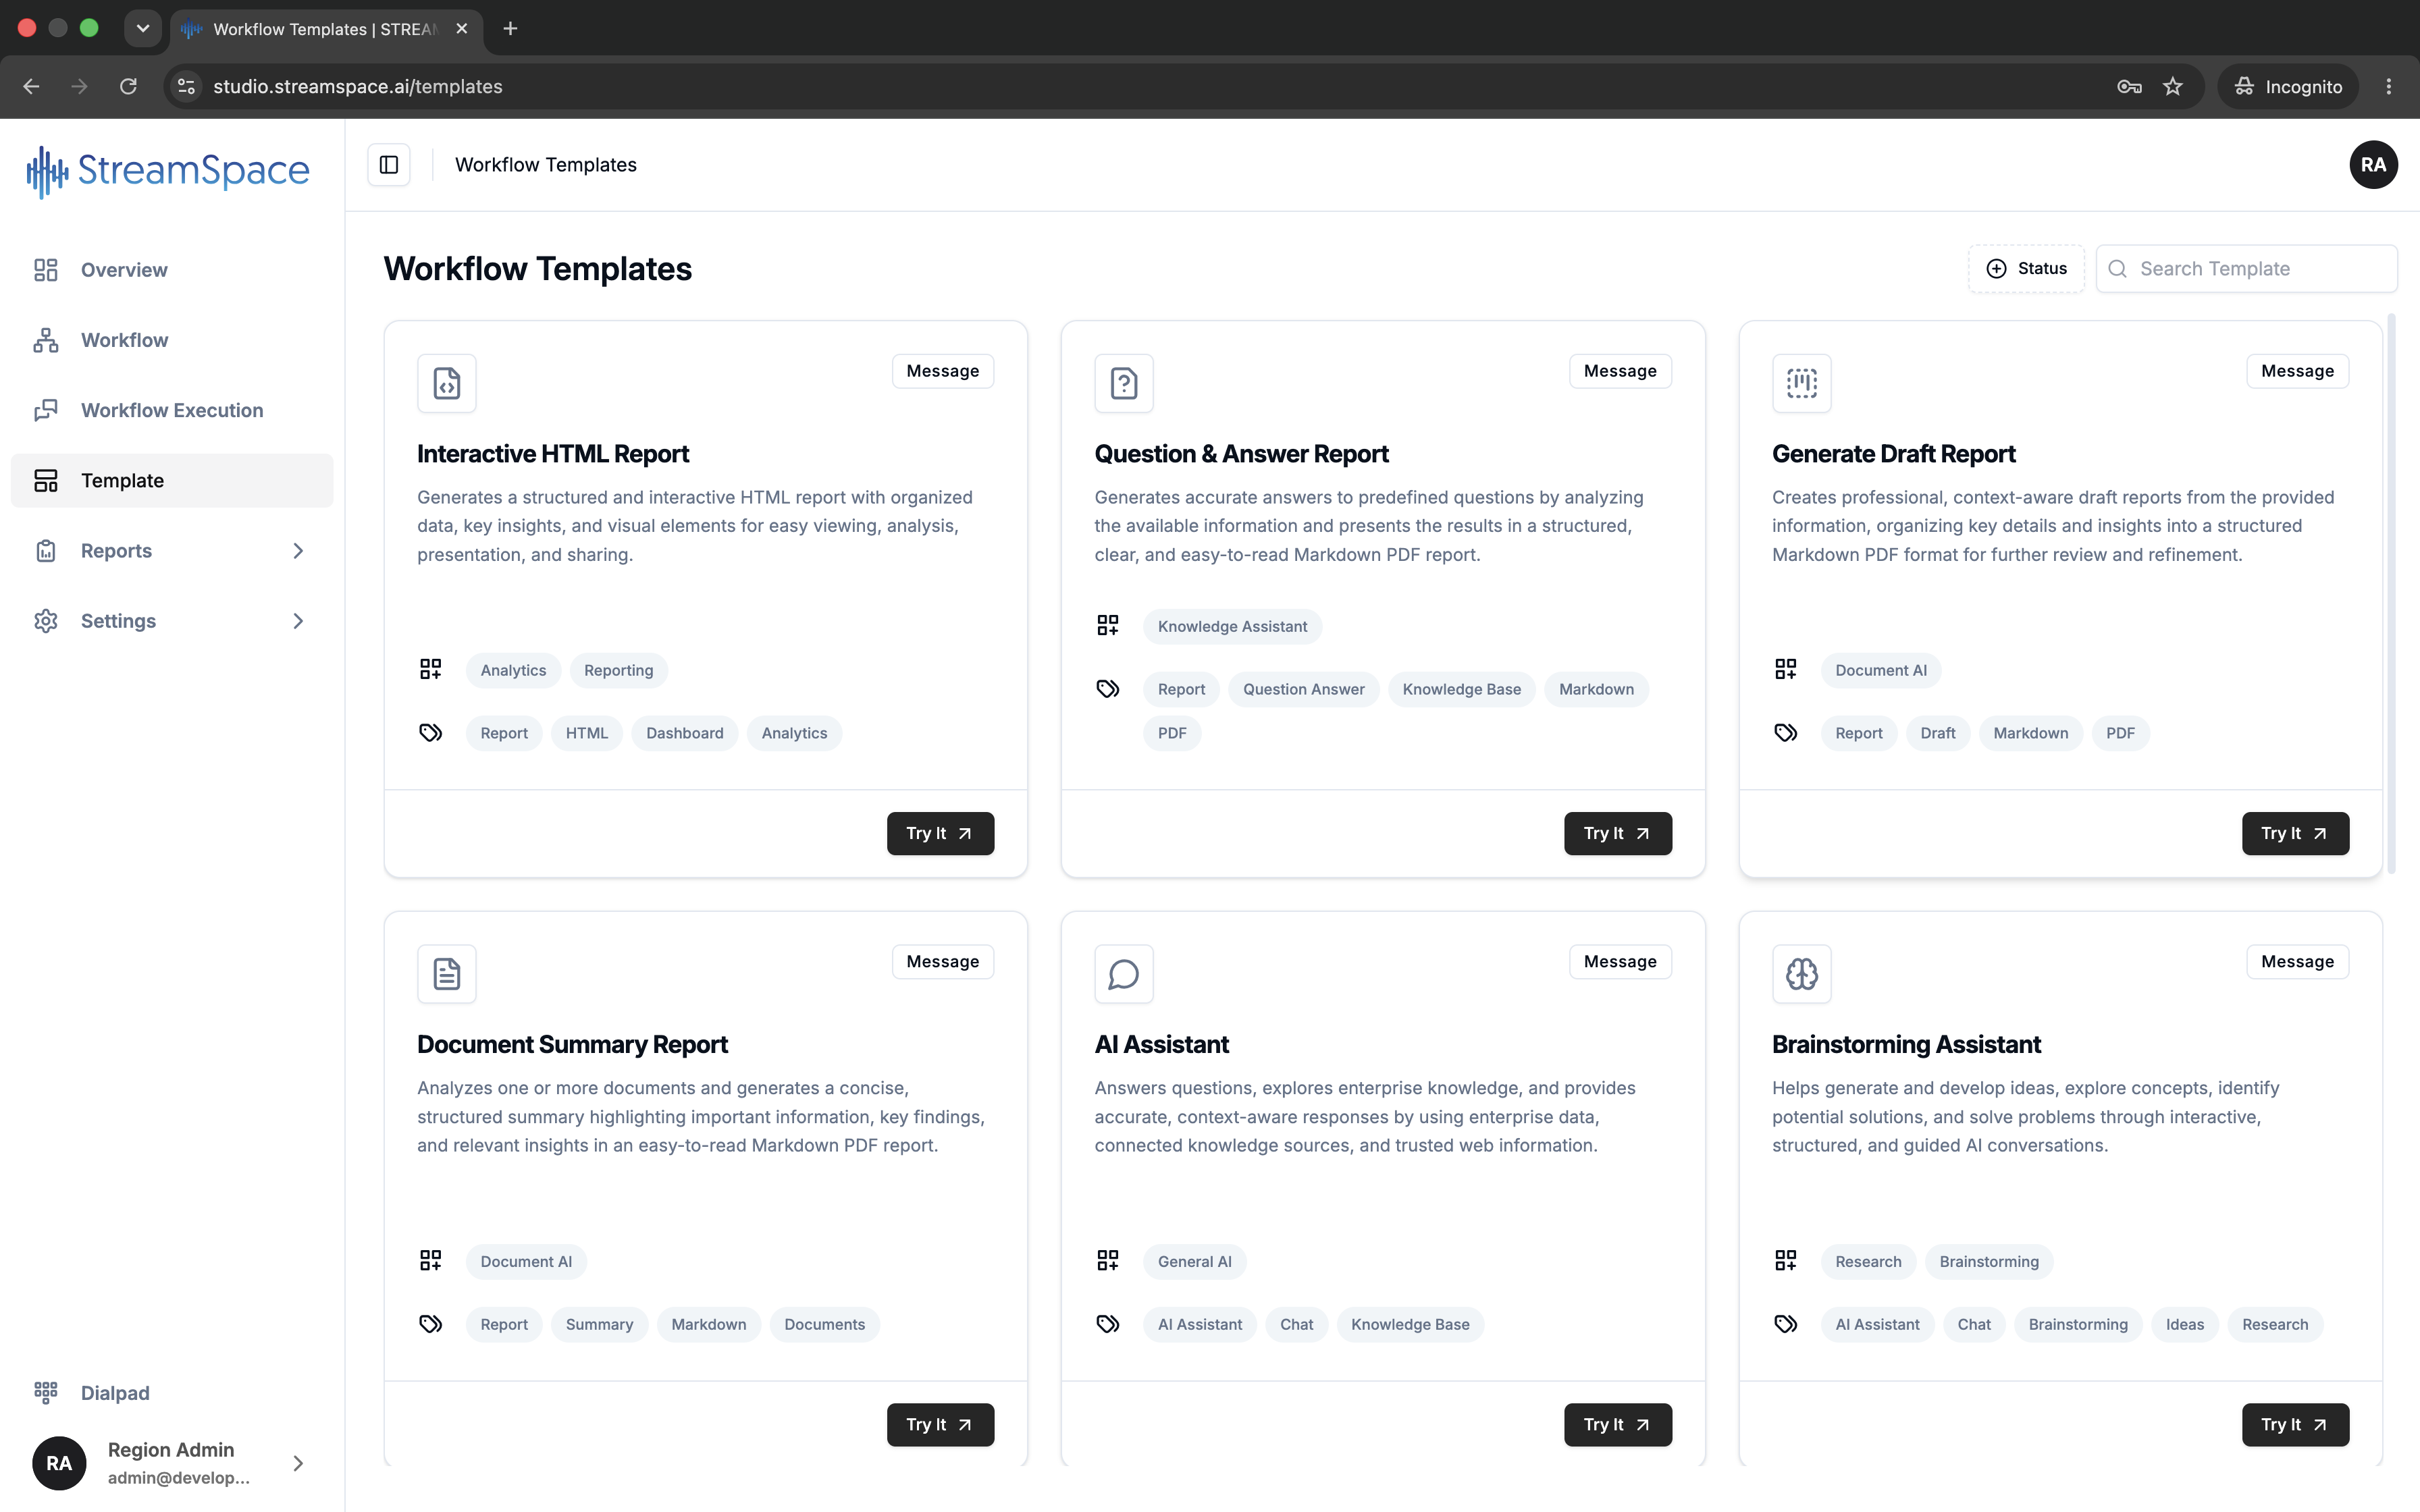
The Workflow Templates page shows all the pre-built templates available for different use cases (Interactive HTML Report, Q&A Report, Document Summary Report, AI Assistant, etc.).
- Browse the available templates.
- Read the name and description of each one to understand what it does.
- Pick the template that best fits your requirement.
- Click Try It on that template's card.
Step 3: Create Your Workflow from the Template
Clicking Try It opens an Add New Workflow popup.
- Enter a Name for your new workflow.
- Click Save.
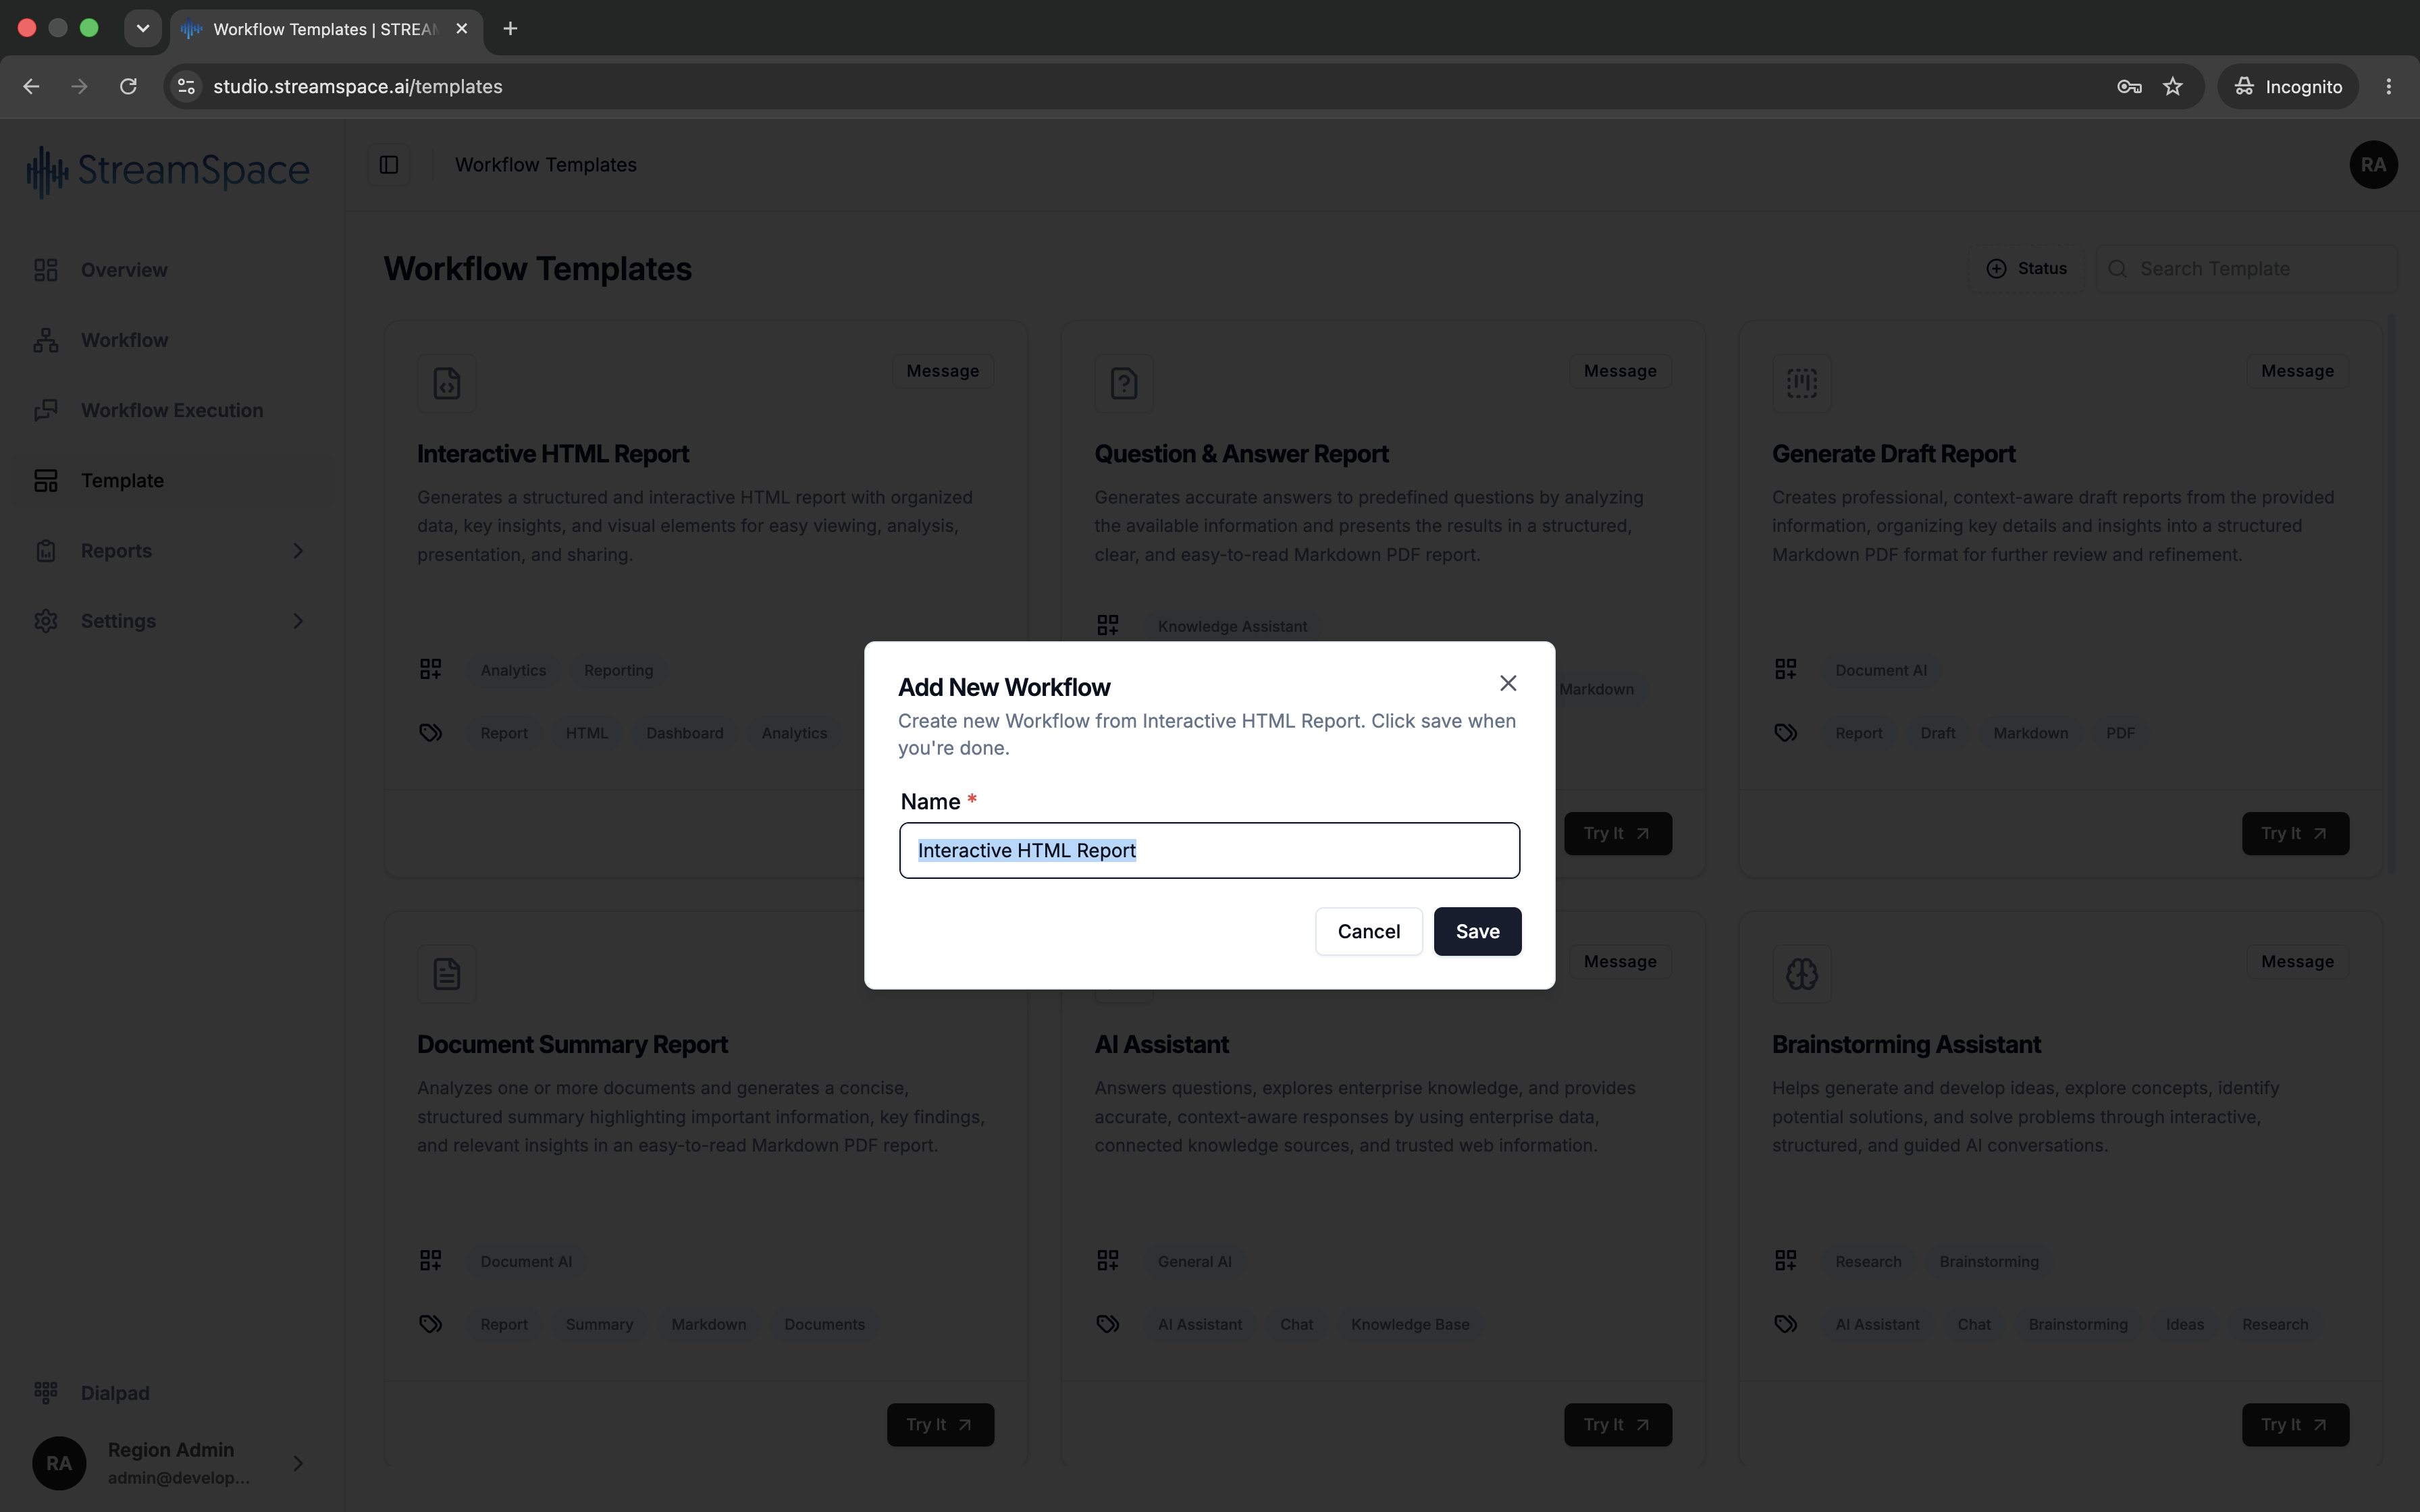
StreamSpace Studio will create a copy of the template and open it automatically in the Workflow Playground.
Step 4: Customize the Workflow
Inside the Workflow Playground, review the nodes that came with the template and adjust them for your use case.
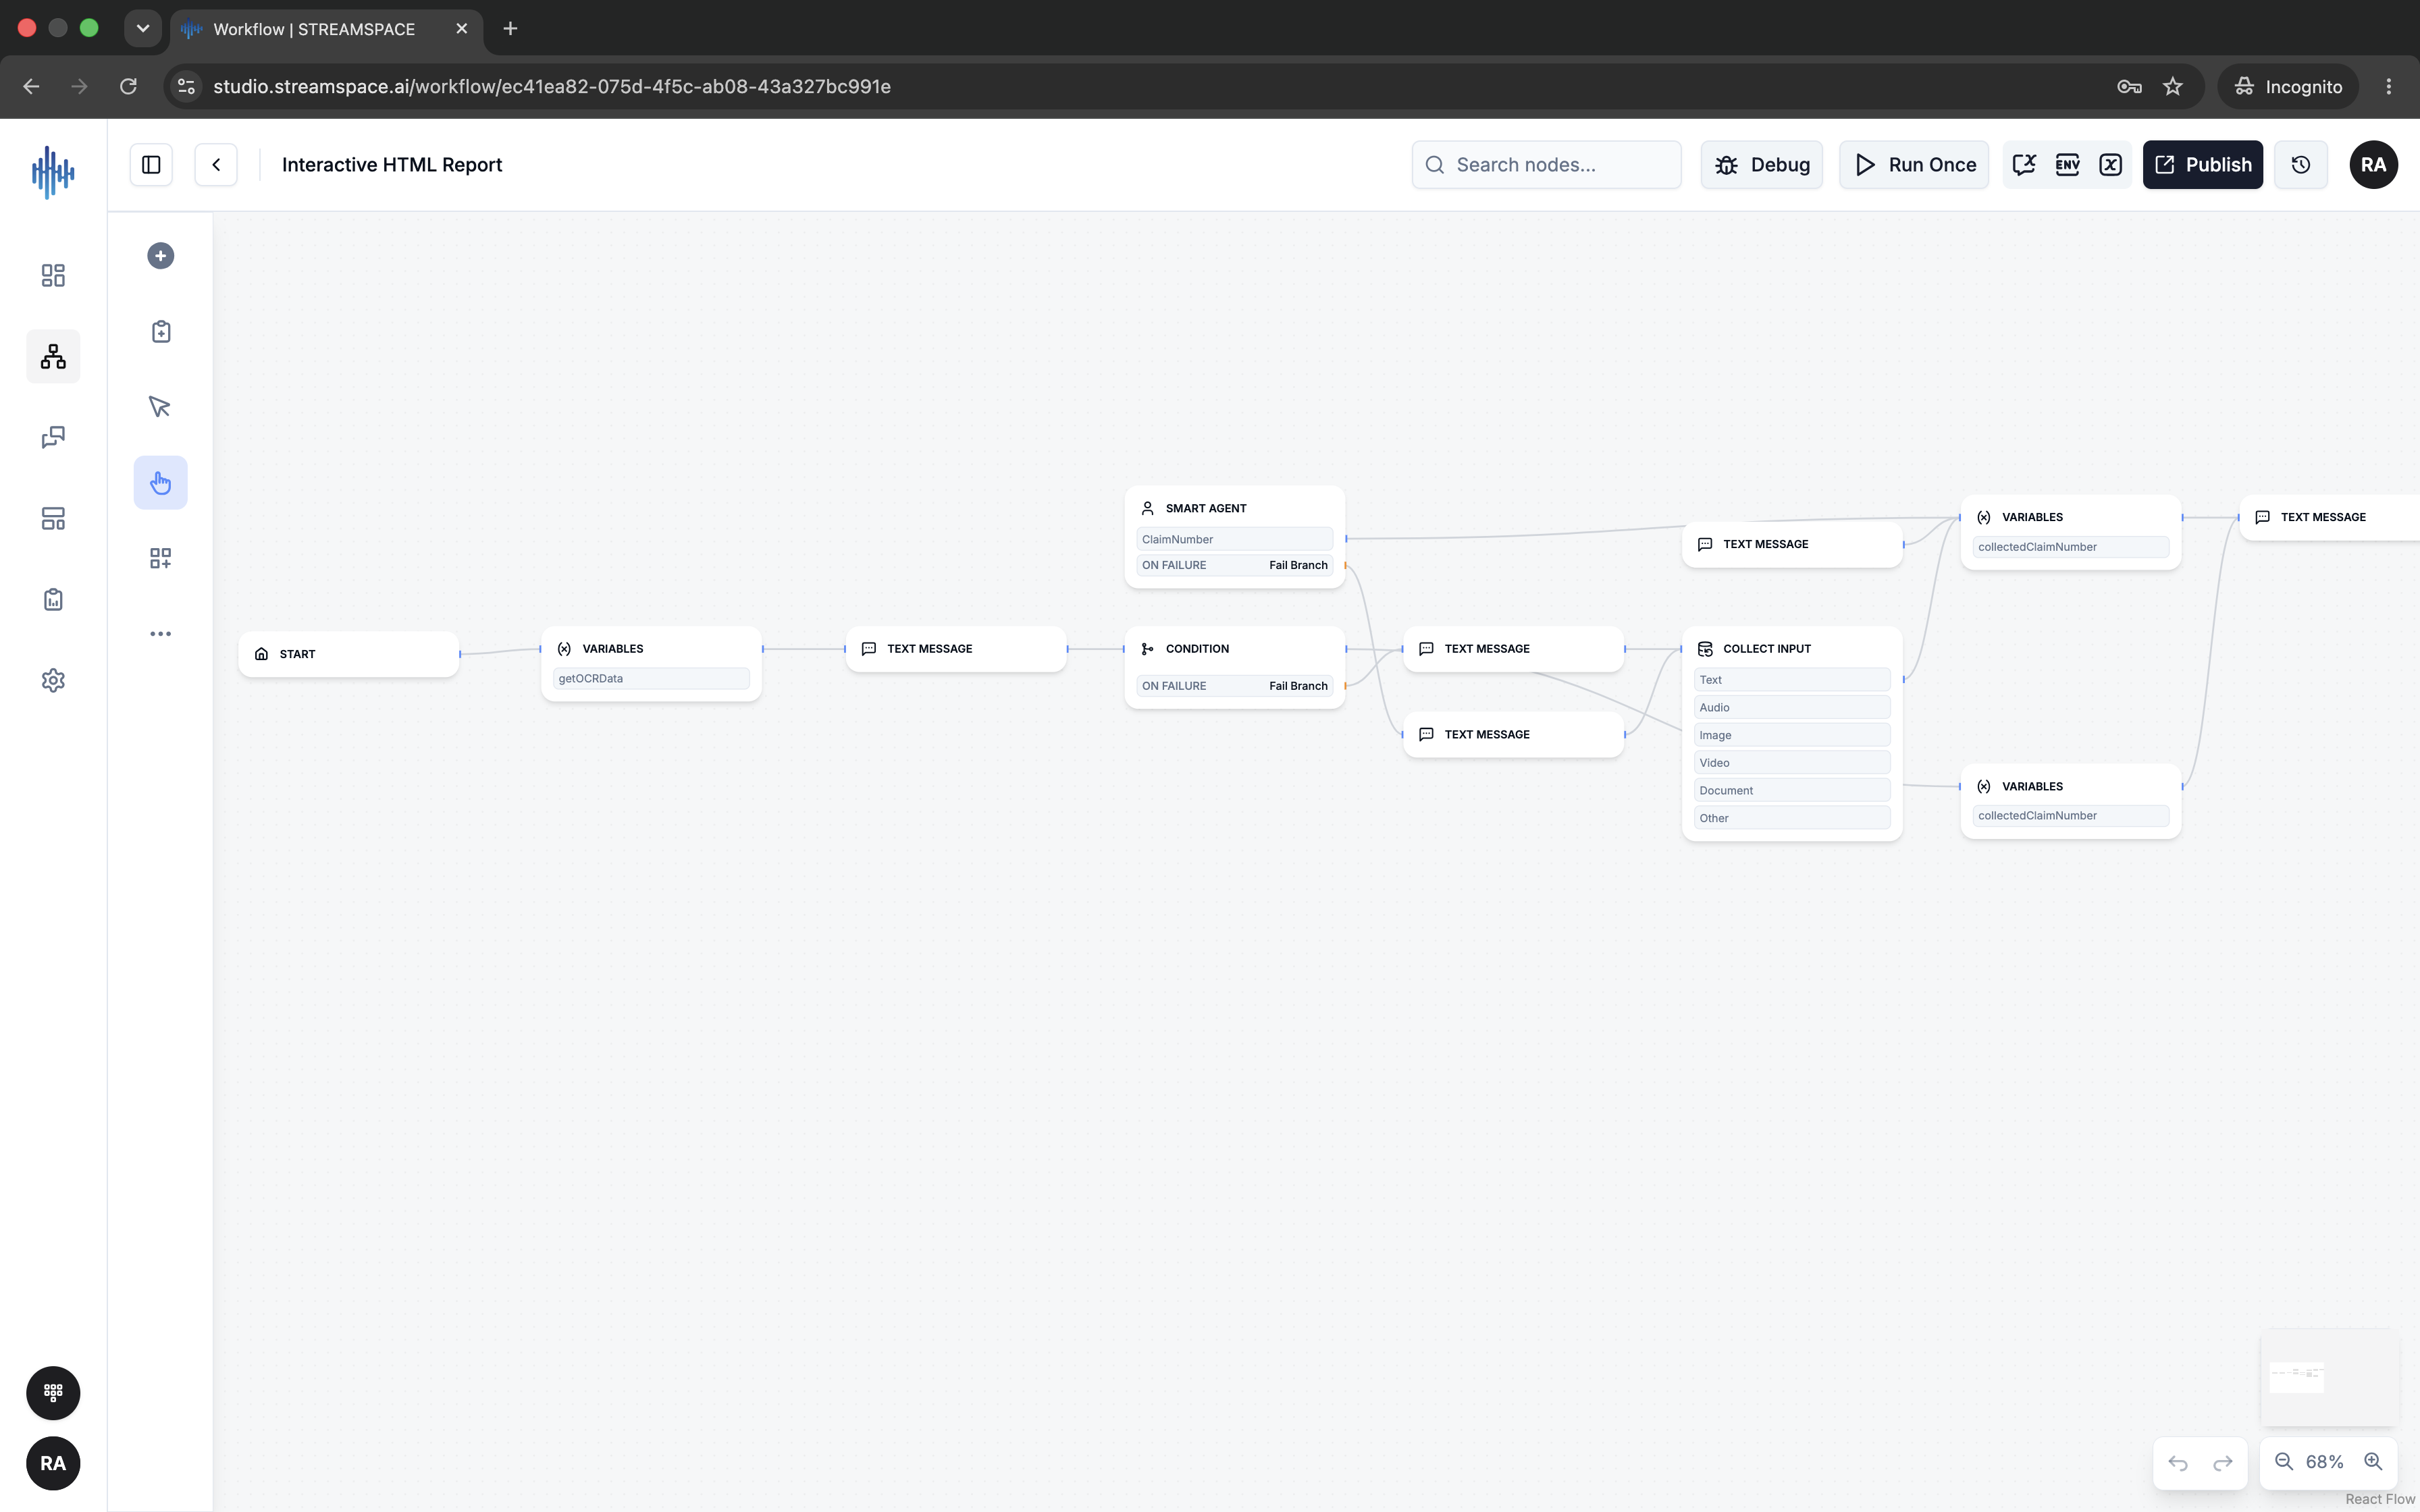
You can:
- Add or remove nodes and tools
- Modify node configurations
- Update variables and inputs
- Change workflow logic/conditions
- Configure outputs and messages
- Add or update integrations
- Set up account credentials for any tools/integrations used
If the template uses an external tool or integration that needs authentication, make sure the credentials are configured before you run the workflow.
Step 5: Test the Workflow
Once your changes are in place:
- Review the full workflow structure.
- Click Run Once to execute it.
- Click Debug if you need to troubleshoot or inspect node-level behavior.
- Check the execution results/outputs.
- Make adjustments and re-test as needed until the results look right.
Step 6: Review and Publish
When the workflow is fully configured and tested:
- Do a final review of the workflow.
- Confirm all nodes, tools, credentials, and outputs are working correctly.
- Click Publish.
- Enter a Version number (e.g.,
1.0.0). - Enter a Release Note describing what this version does or changed.
- Click Publish to confirm.
Once published, your workflow is live and ready to use.
💡 Tips
- Always test thoroughly before publishing, especially if the workflow depends on external integrations or account credentials.
- Give your workflow versions clear, incremental version numbers and meaningful release notes — this makes it easier to track changes later.